The coffee maker is one of the most used and abused appliances in any kitchen. If you don’t clean it regularly, it can start to develop all sorts of problems. Our guide teaches you how to clean your coffee maker thoroughly.
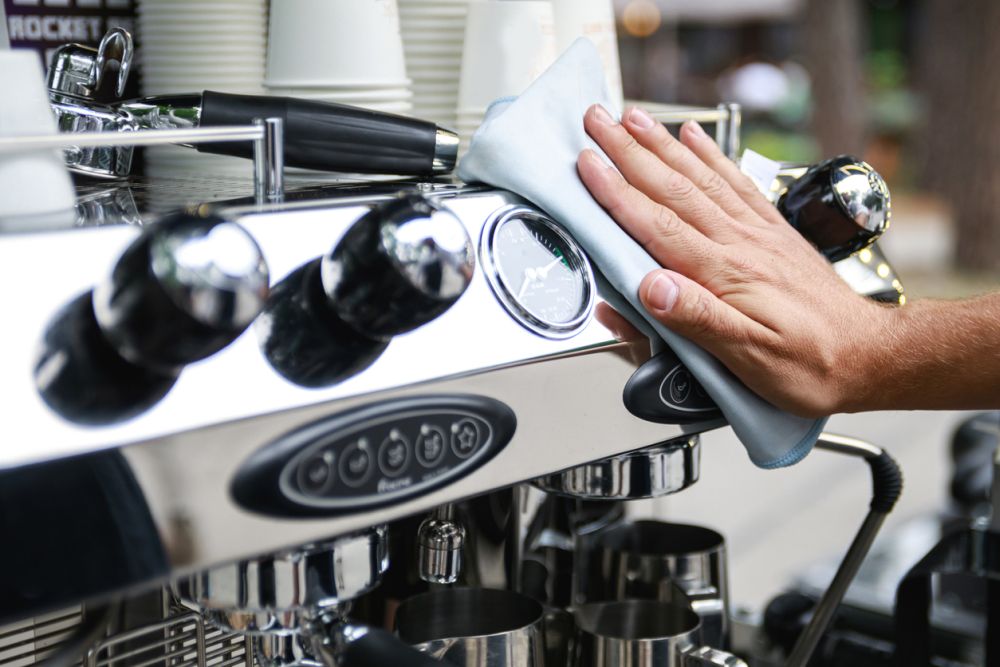
Just like how you need to wash the dishes after cooking a meal, it’s also a good idea to clean your coffee maker after every use.
Luckily, cleaning a coffee maker is relatively easy and only takes a few minutes – when you do it every day. This guide will show you how to clean a coffee maker using natural and chemical methods.
Keep reading to learn why it’s always wise to clean your coffee maker regularly. Afterward, you can learn all about your new daily, weekly, and monthly cleaning routine and extra maintenance tips.
Table of Contents
- Why a coffee maker needs regular cleaning
- Daily cleaning routine
- Weekly cleaning routine
- Monthly cleaning routine
- How often should I clean my coffee maker?
- Maintenance tips
- FAQ
- Closing thoughts
Why a Coffee Maker Needs Regular Cleaning
Coffee makers are constantly exposed to water, coffee grounds, and milk (if you use a frother). These elements can lead to the buildup of bacteria, mold, and mineral deposits.
Left unchecked, this buildup will cause your coffee maker to break down or produce less than optimal results. For example, mineral deposits can clog up the water lines in your coffee maker and prevent it from working correctly.
So it’s essential to clean your coffee maker for practical and hygiene reasons since nobody wants to drink bacteria-ridden coffee.
Bacteria

Pretty much everything that goes into making a coffee is a potential health hazard when left uncleaned.
For example, bacteria can breed and grow inside your coffee maker using the coffee grounds, moisture, and milk remnants as food, and you wouldn’t even be able to tell.
The water reservoir is a common breeding ground for bacteria, like any water recipient with air exposure.
Another potential breeding ground for bacteria is the coffee filter. Although designed to trap coffee grounds, it can also catch bacteria when dirty.
Finally, milk frothers can also be a hotspot for bacterial growth if you don’t clean them after each use since the warm, moist environment is perfect for bacteria to thrive.
Rancid Oils
Coffee beans and coffee grounds contain volatile compounds and oils that evaporate, especially during brewing.
Unfortunately, these oils eventually start building up on the insides of your coffee machine. Once they go rancid, they can give your future cups of coffee a repulsive flavor and aroma.
Cleaning your coffee maker will prevent these oils from getting tainted and ruining your coffee.
Mineral Deposits
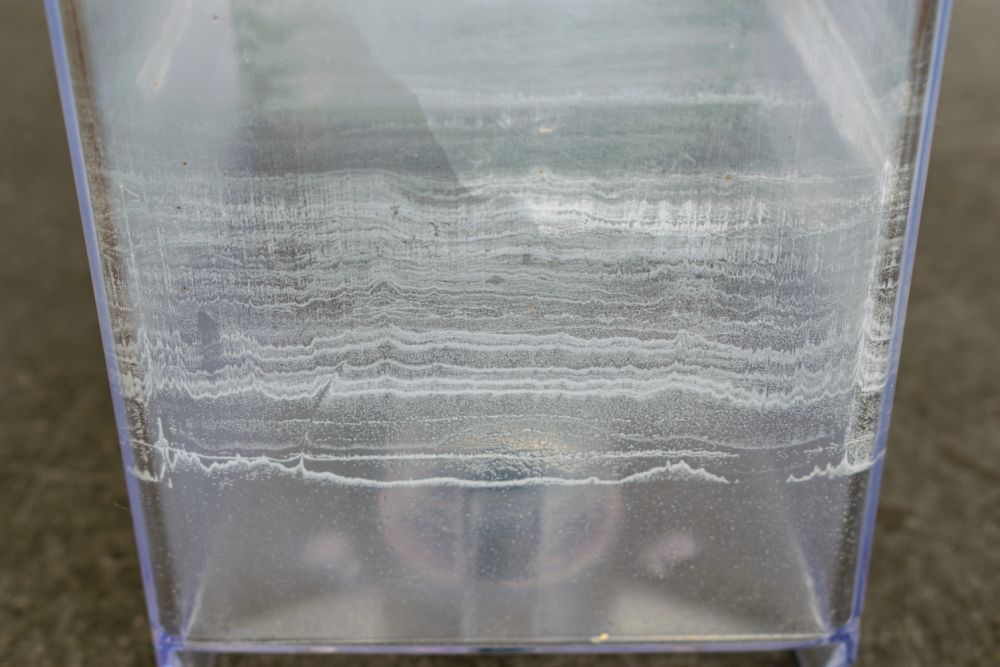
If you live in an area with hard water, you’re probably no stranger to mineral buildup, especially calcium deposits (limescale).
Over time, these minerals can build up inside your coffee maker and cause problems.
For instance, they can clog up the water lines and cause your coffee maker to stop functioning. They can also affect the taste of your coffee, making it sour or bitter.
In extreme cases, mineral deposits can damage your coffee maker beyond repair. So it’s vital to clean your coffee maker regularly if you have hard water.
Coffee Grounds
Old coffee grounds are a cross between rancid oils and mineral deposits: they can give your coffee a nasty taste and scent and clog the inner workings of your coffee maker.
In addition to removing used grounds from your coffee machine, it’s best to discard coffee with a suspicious expiration date or that wasn’t stored properly.
Your Machine’s Well-Being
Unclean conditions alter not only the coffee’s quality but also the machine’s lifespan.
Coffee makers may be durable, but they won’t last forever – especially when maintained incorrectly. Like any other appliance in your home, your coffee maker will eventually show signs of wear and tear with regular use.
And if you don’t regularly clean it, that wear and tear will happen sooner than expected. When this happens, you will have to deal with subpar coffee as well as find a new machine to replace the old one.
How to Clean a Coffee Maker – Daily Routine
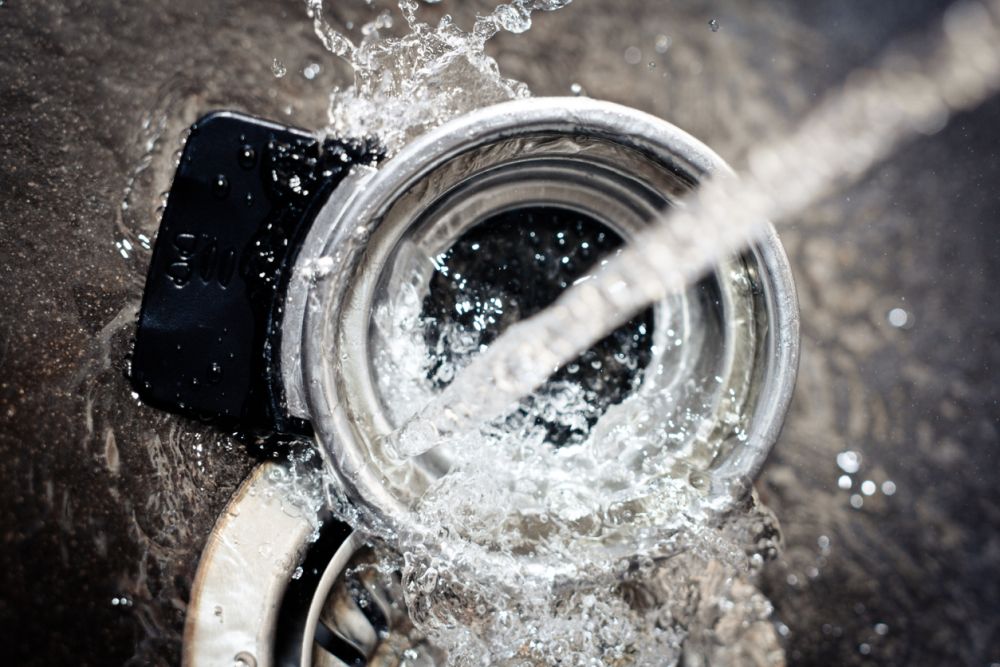
If you brew coffee several times a day, you definitely need to clean the machine after every use. Even if you don’t have enough time on your hands, consider cleaning it once at the end of the day – it should be enough. Just give it a quick rinse to remove the coffee grounds and oils:
Quick Water Rinse
- Remove the filter and coffee grounds.
- Rinse the carafe and brew basket with clean water.
- Add clean water to the tank.
- Run a brewing cycle with just water.
It’s the quickest way to clean your coffee maker daily, taking less than a minute. And you can leave it unattended during the water cycle phase.
Hot Plate Cleanup
When making coffee in a hurry, we usually remove the carafe to pour a cup and then put it back on the hot plate.
However, coffee might keep dripping on the hot plate, which turns sticky when left dirty.
Left for too long, these stains dry up and become almost impossible to eliminate without professional cleaning solutions and elbow grease.
To prevent this, always wipe the hot plate with a damp cloth whenever you notice recent coffee stains.
How to Clean a Coffee Maker – Weekly Routine
The daily cleaning routine takes care of the bulk of coffee grounds and oils. But some might still end up in the nooks and crannies of your coffee maker, like the filter basket’s pores. Thus, you should adopt a weekly cleaning routine.
Carafe and Lid
Rinsing the carafe and lid daily isn’t enough since a thin layer of coffee oils may still build up in time:
- Prepare a solution of equal parts water and white vinegar or dish soap.
- Set a small part of the solution aside.
- Pour the solution into the carafe.
- Let it sit for about 30 minutes.
- Use the remaining solution to scrub the lid’s top and screw thread and the underside of the carafe’s beak.
- Rinse the carafe and its parts with clean water.
- Allow them to air-dry or use a clean cloth.
You might need a stronger cleaning solution than water with vinegar or dish soap, depending on how severe the grime buildup is. And you can use the rough side of a sponge instead of a damp cloth.
Filter Basket
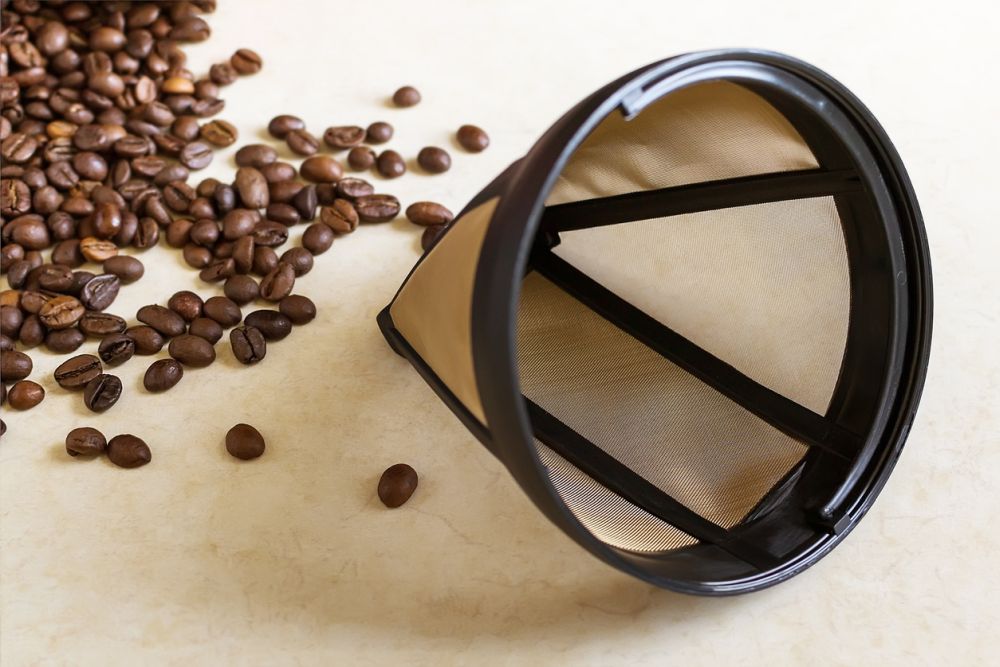
The filter basket needs the most attention since it’s where the coffee grounds and oils sit the most. And it’s also the place with the most nooks and crannies for the coffee oils to hide:
- Remove the filter basket.
- Give it a good rinse under running water.
- Use a dish brush to remove the grime.
- Continue scrubbing and rinsing until the water comes out clean.
Since most coffee filter baskets are black, pay extra attention while cleaning since spots, oils, coffee grounds, and stains are harder to spot.
Water Feeder
A water feeder is like a miniature shower head through which the water drips over the coffee grounds in the filter basket.
Coffee blooms when hot water comes into contact with the coffee grounds, causing an almost fizzy reaction; coffee grounds and oils jump on the water feeder, which can build up in time.
Cleaning the water feeder is particularly important since the tiny holes get clogged easier:
- Unscrew the water feeder; it’s usually at the top of the coffee maker.
- Give it a good rinse under running water.
- Wipe everything with a clean cloth.
- Reattach the water feeder to the machine.
How to Clean a Coffee Maker – Monthly Routine
Your coffee maker should be free of oils and leftover coffee grounds when sticking to daily and weekly cleaning.
But if you’ve already gone past this point, you need to take a more chemical approach: descaling. It removes mineral buildup, which is particularly important if your water has a high mineral concentration.
The best thing about descaling is that you can do it using homemade or professional solutions:
White Vinegar Descaling
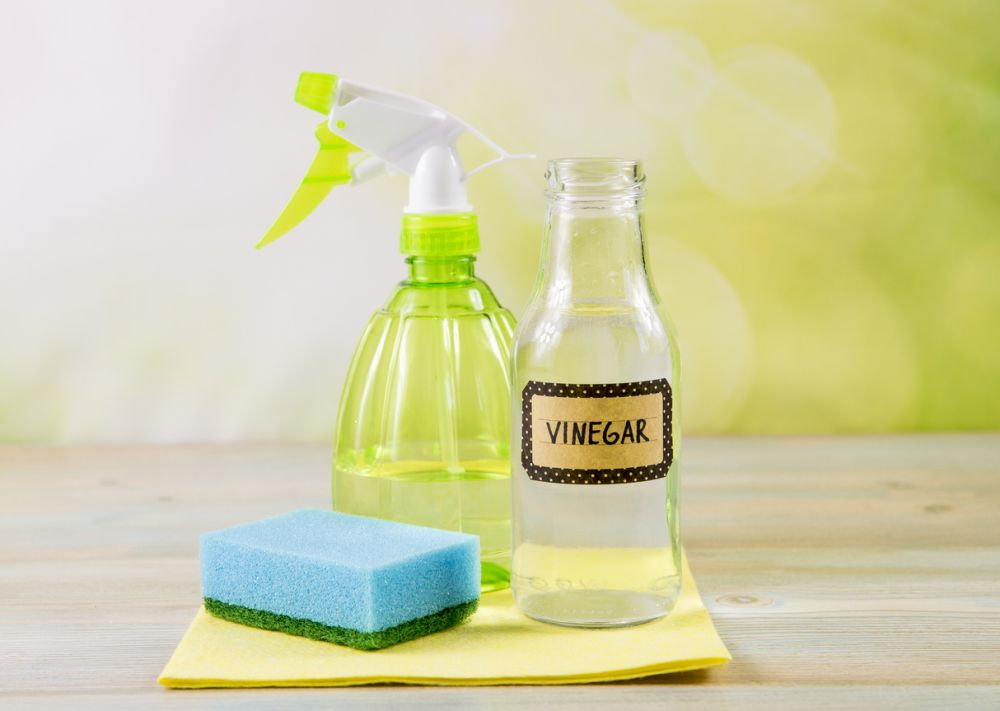
White vinegar is one of the most effective and cheapest ways to descale any home appliance:
- Prepare a solution of equal parts water and white vinegar.
- Pour the solution into the water reservoir.
- Run a normal brewing program.
- After the cycle finishes, discard the carafe’s contents.
- Rinse everything with clean water.
You might have to repeat these steps several times, depending on the severity of the mineral buildup.
Citric Acid Descaling
Citric acid is another home-friendly descaling solution, which you can find at most grocery stores in the canning section:
- Mix 1 tablespoon of citric acid with 1 gallon (3.8 liters) of water.
- Pour the mixture into the water reservoir.
- Run a brew cycle.
- Allow the coffee maker to cool down for 30 minutes.
- Run a new brew cycle with clean water to remove any leftover residue.
Professional Descaling Solution
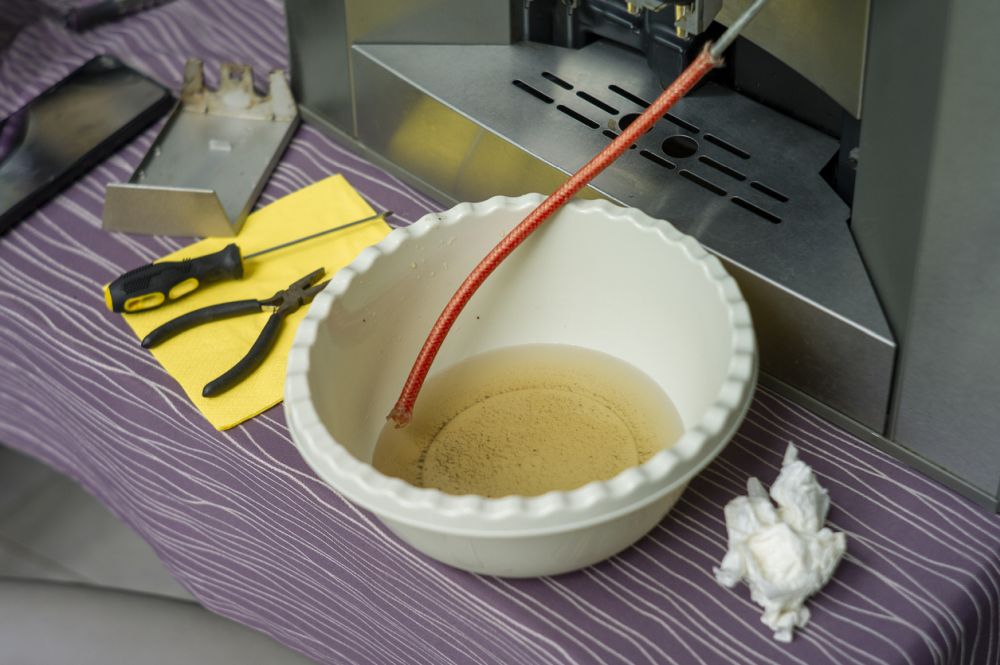
There are plenty of professional descaling solutions designed for cleaning coffee makers. But they are more expensive than white vinegar and citric acid.
On the bright side, a professional product is more effective than homemade solutions and doesn’t have any weird smells – which can be problematic with white vinegar and citric acid.
Consider using these descaling solutions:
- De’Longhi EcoDecalk Descaler – Best Ecological Descaler
- Affresh Coffee Maker Cleaner – Best Universal Coffee Maker Cleaner
- Essential Values Descaling Solution & Cleaner – Best Affordable Descaler
- Philips CA6700/22 Liquid Descaler – Best Automatic Coffee Machine Descaler
- Exceptional Life Products Coffee Machine Descaler – Best Liquid Descaler
How Often Should I Clean My Coffee Maker?
So, it’s important to clean out the coffee grounds after each use. How often you need to do this depends on how often you use your machine.
If you make one or two cups of coffee a day, you can probably get away with cleaning the coffee grounds out once a week.
But if you’re a heavy coffee drinker (3+ cups per day), clean the coffee grounds after each use.
Maintenance Tips
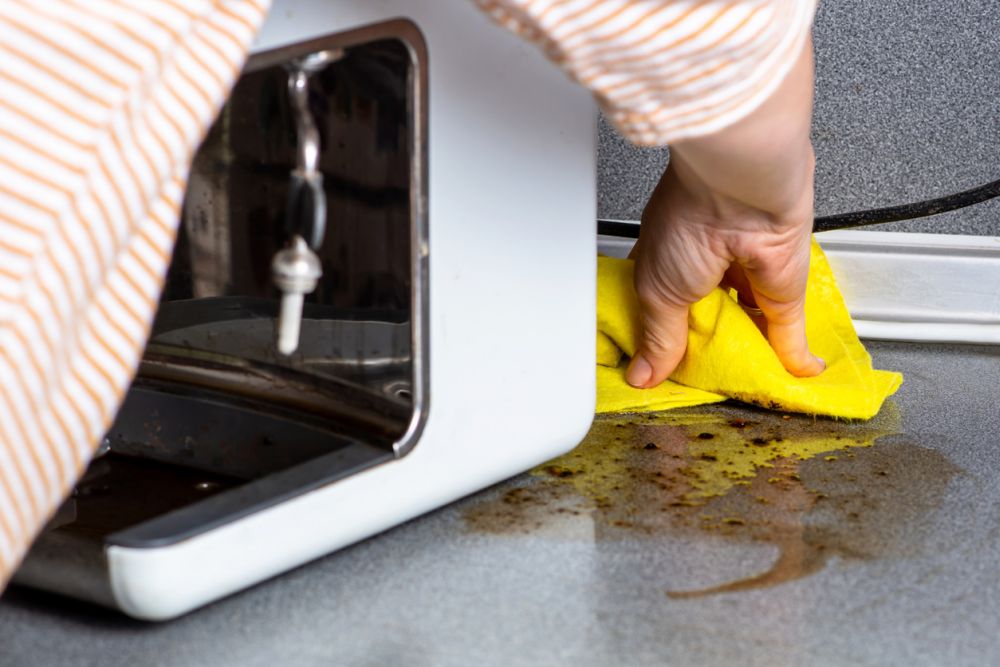
The best way to fix a problem is to prevent it from happening. It means adopting certain habits to keep your coffee machine clean and free of mineral buildup:
Never Leave Water in the Tank
If you have ever left water in the water reservoir for several days, you have probably noticed that it turned murky. You’re not alone since it’s a common mistake.
This promotes the growth of bacteria and other microorganisms, leading to all sorts of problems, including bad-tasting coffee.
Even if the water is purified, the coffee will still develop a strange taste due to contact with the metallic and plastic parts.
To avoid this, always empty the water reservoir after each use and give it a quick rinse with clean water.
Let the Coffee Maker’s Components Breathe
The worst thing you can do when there’s moisture and organic matter like milk and coffee grounds is to keep them in an environment with poor or no air circulation.
So it’s best to pay special attention to the coffee maker’s components:
- Water tank. Since water sits there all day, leave the lid open to allow air circulation. But ensure that debris like specks of dust or hairs doesn’t end up in the tank.
- Filter basket. Leave the filter basket open so that leftover coffee grounds can dry completely; this will prevent them from going stale and developing mold.
- Carafe. Since it’s where the water and coffee extracts end up, leave its lid open to encourage proper air circulation.
Use Bottled or Filtered Water
Unfortunately, not everyone has pipes that deliver high-quality water. In some cases, the water is so bad that it can damage your coffee maker.
If you’re unsure about the water quality, just switch to bottled or filtered water. It will protect your machine and improve the coffee taste.
FAQ
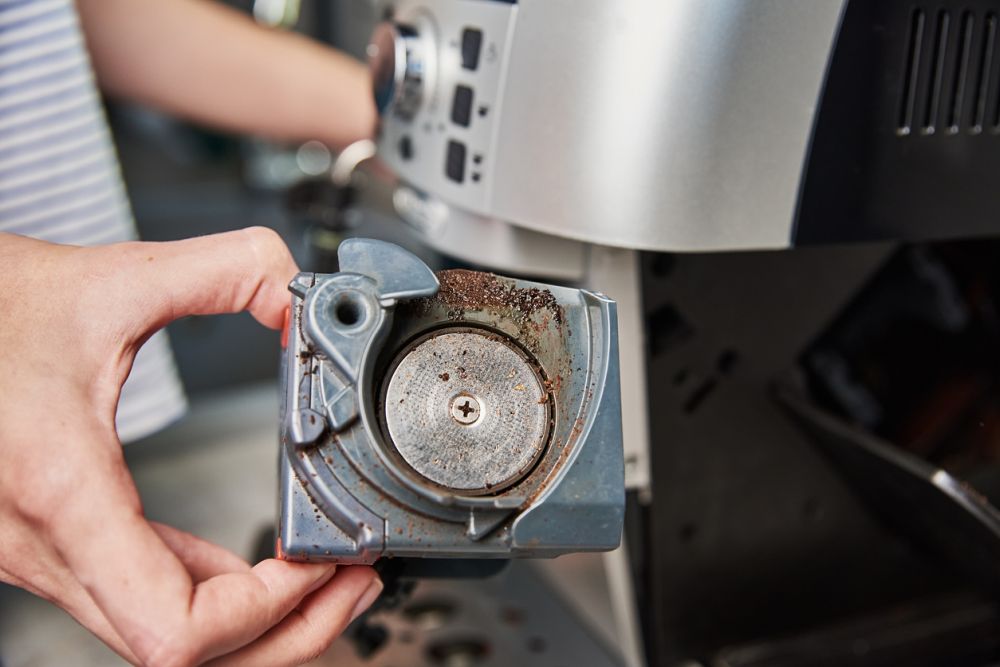
Learn more helpful information about cleaning coffee makers:
How often should I clean my coffee maker?
Ideally, you quickly clean your coffee maker after every use and deep clean it at least once a month. But it depends on how frequently you use it and how hard your water is.
What is the best way to clean a coffee maker?
Run a brewing cycle using a water mixture and a professional cleaning solution for coffee machines.
How many times should I run vinegar through my coffee maker?
It depends on how severe the limescale deposits are. Run water and vinegar through the machine until you no longer see any white streaks of calcium.
How much vinegar do you use to clean a coffee maker?
It depends on the severity of the limescale deposits. In most cases, you can use a 1:4 ratio of water and vinegar. If it’s really bad, use vinegar without water and pay extra attention when rinsing.
How do I clean my coffee maker without vinegar?
Use lemon juice, citric acid, dish soap, or a professional cleaning solution for coffee machines.
Closing Thoughts
That wraps up our complete guide on cleaning a coffee maker.
We hope this article has given you the information and confidence you need to keep your coffee maker clean and functioning properly for years to come.
What are your favorite tips for cleaning your coffee machine? Share your methods in the comments below!
Leave a Reply