Coffee enthusiasts know, there’s more than just one way to brew coffee, and they’ve tried most of them; French Press, Pour-over, drip coffee, coffee machines, and the list goes on…
But one of the most humble and fascinating ways to make coffee is by using a Moka pot, aka, stovetop espresso maker.
The coffee it brews isn’t only delicious but healthier, too.
If you haven’t heard of it, you’ve been potentially missing a lot of cups packed with a powerful jolt of energy.
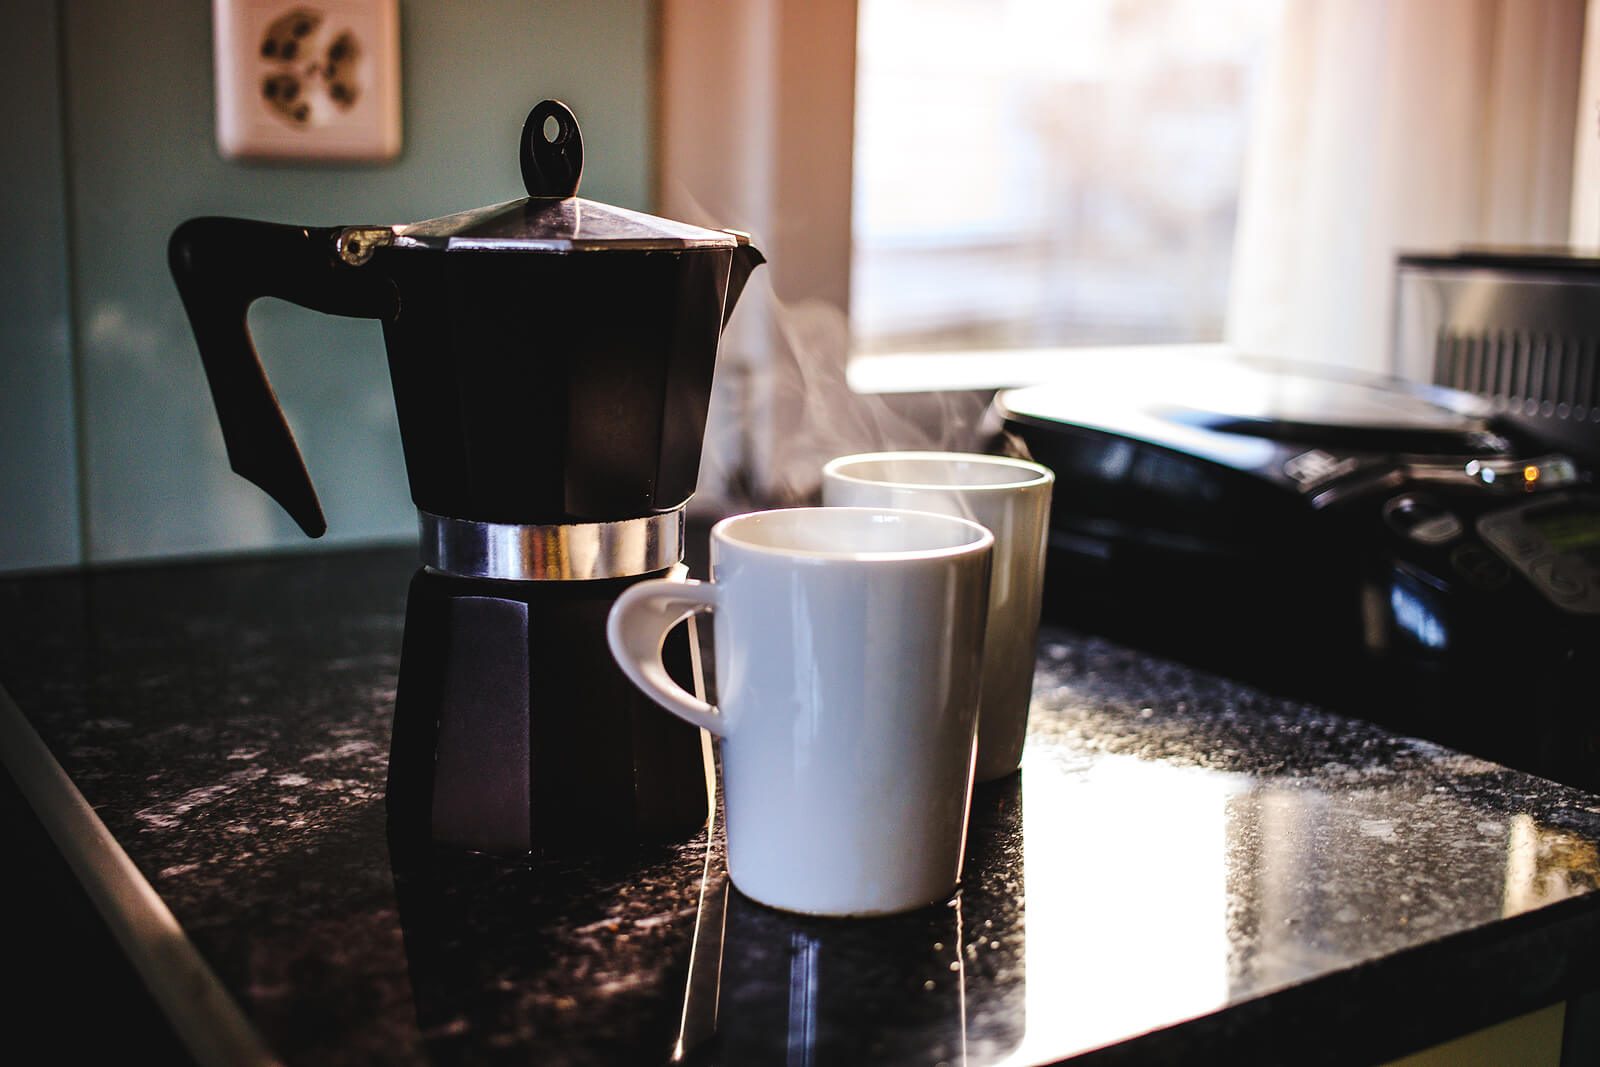
So, whether you’re a beginner or a seasoned veteran, in this article, I’ve outlined the step-by-step guide to empower you on how to make the best coffee possible you can.
Let’s get started…
What is Moka Pot and How it Works?
It was invented in 1933 by Luigi De Ponti for an Italian commissioner, Alfonso Bialetti, and quickly became one of the crucial parts of the Italian culture.
People loved its ability to brew espresso-style coffee at the ease of home. By the end of 50’s it could be found in most of the kitchens in Europe, North America, and North Africa.
Now, there are hundreds of companies and many different styles of this brewer available on the market, but Bialetti, the founder company of this Italian wonder, still stands strong, and their original Bialetti Express (with the same old-style design) is still the choice of millions of java lovers around the world.
So, what is it? The original design is an eight-sided wonder made of an aluminum body and a bakelite handle.
Its basic construction has three main components:
- Water Boiler: The bottom chamber that holds the water while it’s heated.
- Coffee Basket: Just above the water chamber, this basket holds the coffee grounds and features tiny holes at the bottom that allows the steam to rise and extract the natural flavors and qualities from your coffee.
- Collection Chamber: Covered with a lid, this collects your brewed coffee (but not the grounds).
Well, how does it work?
Since the water is heated in a sealed environment, it builds up pressure that forces the water vapors through the grounds, which initiates the coffee brewing.
This doesn’t stop here, the built-up pressure still compels the liquid coffee to spill out into the upper chamber, however, thereafter, it’s no longer pressurized, so the collection chamber fills up smoothly. Simple and efficient!
Quick Note: This simple brewing technique produces a very intense cup of coffee since coffee to water ratio is 1:7, which is a bit more than twice as strong as plain coffee, made at 1:16 coffee to water ratio.
You can sip on lightly like espresso, dilute it with water to make it less intense, and even enjoy steamed milk.
Pre-steps and Thoughts
Before we delve into the brewing process, there are things that you need to know beforehand to make sure you brew fascinated and rich-flavor coffee as you’d expect.
Always use fresh coffee, I’d suggest using freshly roasted coffee beans and grind them right before brewing your coffee. This is only the way to preserve those flavors, oils, and freshness to brew a mind-blowing cup of java. You won’t be able to accomplish this with pre-ground coffee at any rate.
Choosing the right is important, if you want to brew 1 cup of coffee, choose the pot that’ll brew a single shot, a 2-cup pot for producing 2 shots, and so on.
Keep in mind, you can’t half-fill a Moka pot, so don’t buy a 6-cup sized brewer for making 3-cups of coffee. It works well only when it’s filled properly.
Grind size matters a lot, for a Moka pot coffee, medium-coarse ground works extremely well. Never use espresso-fined grounds, otherwise, it will clog the filter screen and amass a dangerous amount of pressure, and you’ll have to collect your coffee from the walls of your cookhouse.
Your coffee is 98% water, so make sure you use only the delicious water with the low calcium content. Besides freshly ground coffee, this also plays an integral role for retaining the maximum flavors and tastes of your coffee.
On repeating complaints that coffee tastes bitter more often. This happens when you don’t already fill the bottom chamber with hot water. As a result, it cooks your grounds and causes a lot of bitterness.
So, it’s always great to preheat the your brewer with warm water to reducing the risk of bitterness.
Now you’ve warmed up like a football player and ready to kick off the real game.
Before we begin, let’s collect the essential tools and ingredients:
- Freshly Roasted Beans
- A Perfect-sized Moka Pot
- Coffee Grinder
- Quality Water
- Cold Towel
Let’s discuss how this little gurgle brews a magical cup of coffee on the stovetop.
Step 1: Fill the base with hot water
This will make the process quicker, and water won’t take much time to hit the suitable temperature to start the brewing process.
Pro Tip: You’ll see a pressure valve on the side of the bottom chamber, always fill the boiled water to the very bottom of the valve. This is meant to regulate pressure. Just don’t cover, or it won’t be able to release the emergency pressure.
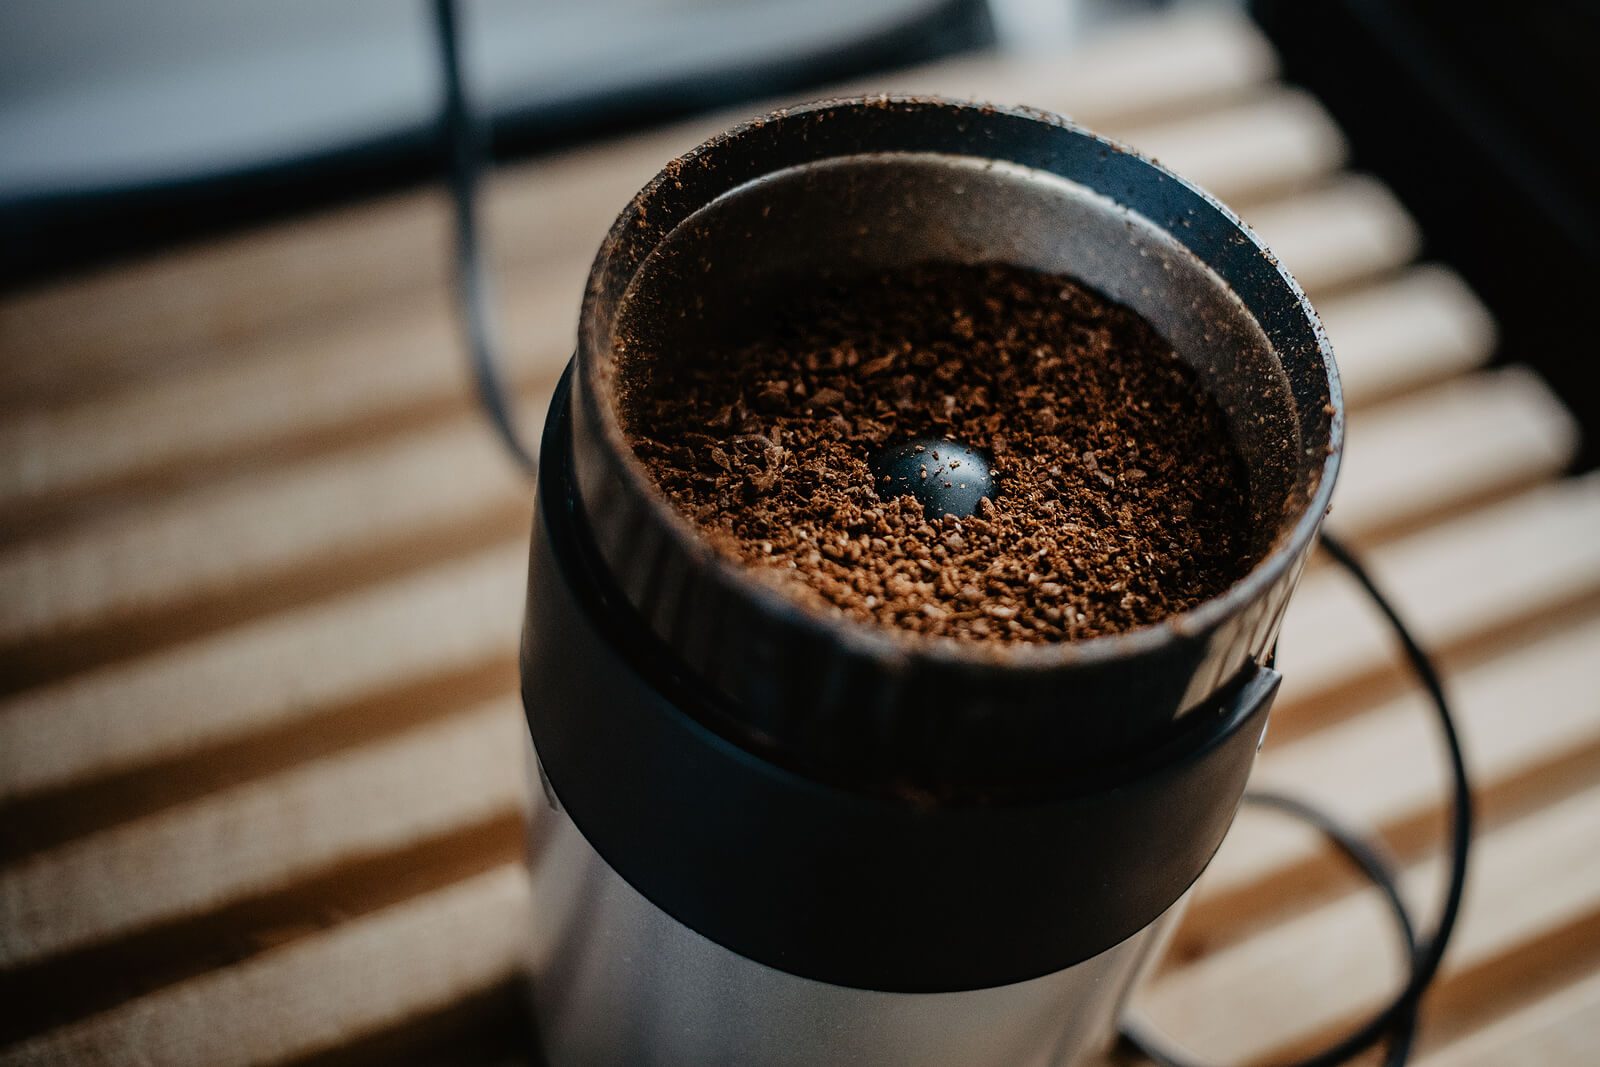
Step 2: Grind your fresh coffee beans
Depending on the size of the basket, grind beans enough for filling the basket properly with medium-fine coffee.
Step 3: Add coffee grounds to coffee basket
While filling the basket, some of the grounds will certainly fall all over the place. Run your index around the rim of the basket to remove the rogue grounds. If you do not remove them, the upper chamber may not screw properly and damage the flavor of the coffee. Please, don’t tamp the grounds.
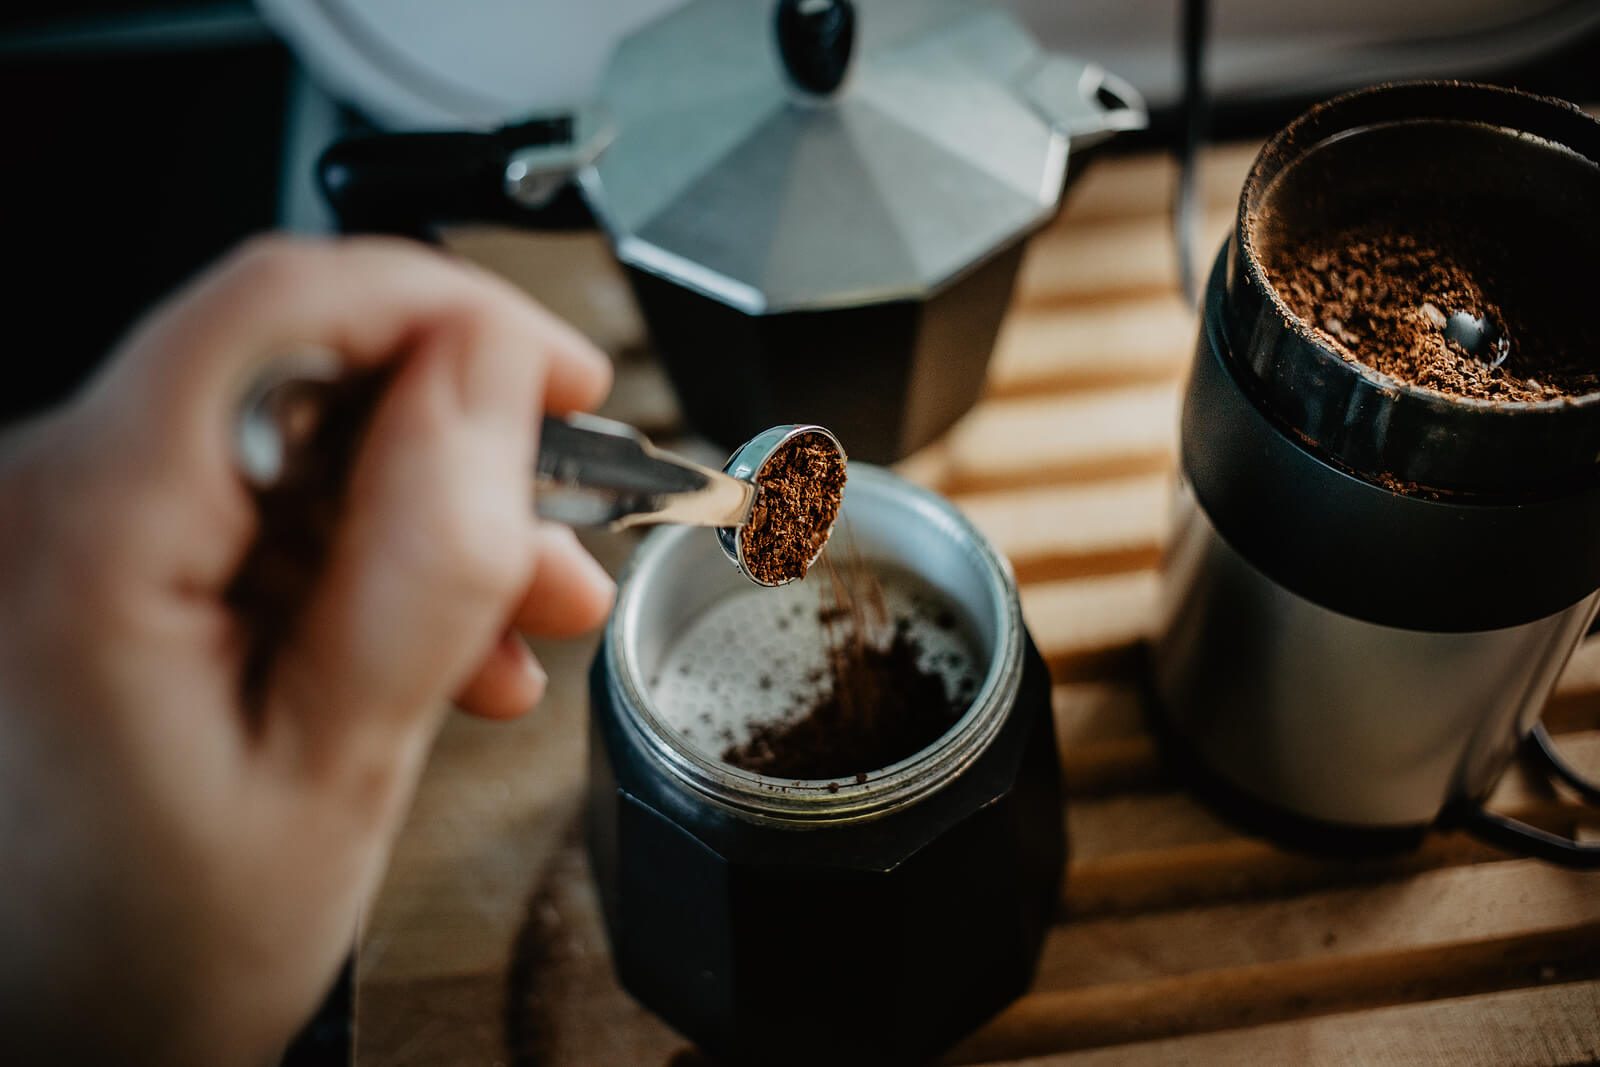
Pro Tip: This is an important thing to keep in mind, just don’t overfill the basket to the brim otherwise, it will require much more pressure to brew the coffee that will certainly force your Moka pot to blow over the stovetop. So, before you put it on the stovetop, make sure the filter basket isn’t overfilled with coffee. For instance, you can use a knife to level the grounds with it.
Step 4: Place filter basket into the base and assemble the pot
Once you’re done cleaning the coffee basket, place it comfortably in the bottom compartment. Finally, screw the upper chamber tightly with the water boiler.
Pro Tip: Since the water, reservoir is filled with hot water so stay cautious from touching it with your fingers unknowingly. You can use a towel to hold and assemble the bottom chamber properly. Lastly, make sure the two chambers are secured properly before you put them on the stovetop.
Step 5: Place magic-pot on the stovetop
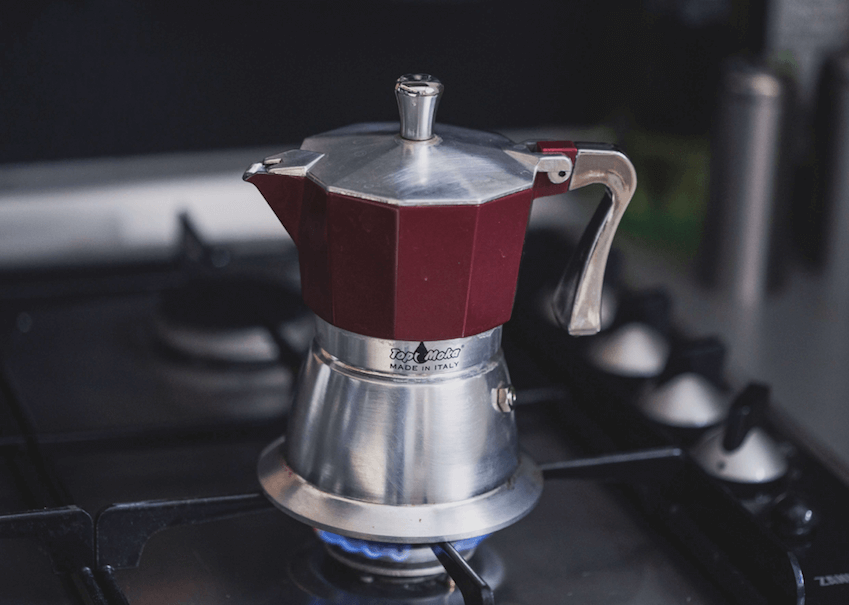
Now set your Moka pot on the stove on medium-low heat. If you can, try to place it on the edge of the border to avoid heating up the handle. Don’t make the mistake of turning it on high heat otherwise, there will be more coffee on the stovetop than in the upper chamber.
It could take up to 5-10 minutes before you start seeing anything, if nothing happens, then turn up the heat slightly high.
Now, look closely at the collection chamber; eventually the coffee will start oozing into it. This means, pressure is working, and coffee is brewing.
If coffee is funneling madly and spewing, it means the heat is too high – turn it down and hold it in your hand, just above the flame.
For Your Information: A perfectly brewed coffee will look like golden honey.
Step 6: Remove from the stove and serve immediately
Once the brewed coffee is 80% way up to the spout, remove the pot from the stove and put it directly onto the cold towel. Cooling down the pot prevents the over-extracted and bitter liquid from funneling into your coffee.
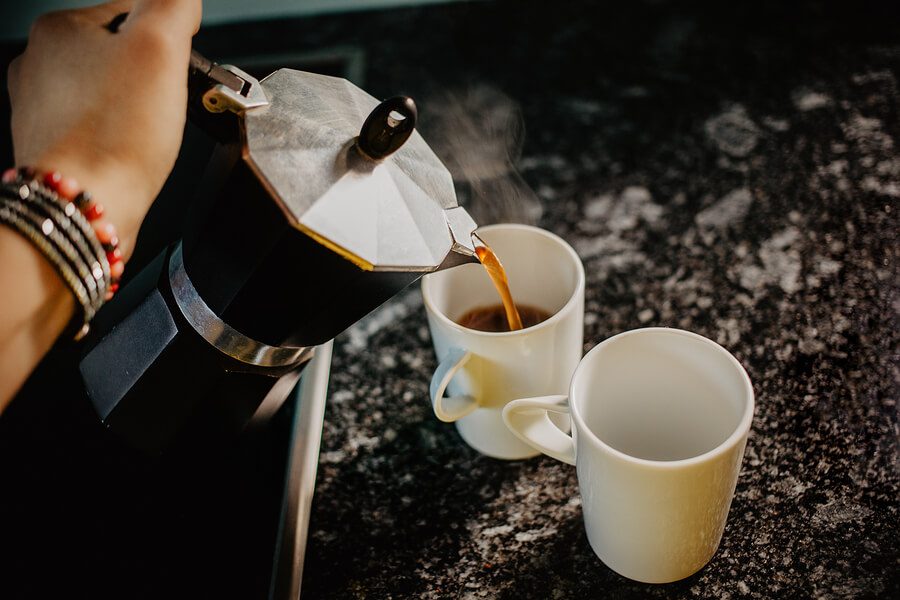
Voila! You’ve made your coffee with a Moka pot. Pour and serve immediately.
How to Clean the Moka Pot
Cleaning a Moka pot is a no-brainer. For of all, make sure the pot has cooled down completely.
Disassemble the brewer and toss out the excess water or grounds.
Simply give a thorough rinse to each component of the pot with hot water. If there are grounds that may be stuck inside, use your index to dislodge them. Then, hand dry everything on a towel and simply put aside for further air dry.
Don’t use soap or other chemical detergents because they can affect the aluminum layer of the brewer. As long as you dry before reassembling, you don’t need to use soap. The dishwasher can strip it off its shiny surface and perhaps, give it an unpleasant color.
So, it’s always a wiser decision to hand-dry all the parts, and this will also increase its overall lifespan.
Types of coffee you can make with Moka Pot
The coffee you brew from the pot is just the beginning of the adventure, you can make almost every type of wonderful drink from it.
Here’s how to transform your pot coffee into Americano, latte, and many other coffee drinks by using the equipments sitting inside your kitchen.
Espresso
Espresso is the lifeblood for millions of people around the world that provides a mind-blowing elixir of energy.
Some people find this too bitter or too strong, but it’s healthier than other coffee drinks.
There’s no specific guide on how to make espresso with the pot; it’s straight up as it comes, just pour your coffee into a cup without adding anything else, and you’re ready to sip espresso.
Americano
If espresso is too strong, simply add hot water from your kettle to your coffee to make it less intense and enjoy your café style Americano at home. If you’d like, you can add some sugar to make it sweetened, depending on your taste.
Latte
Latte is simply the combination of espresso with steamed milk. To prepare this drink, simply boil some milk on a low-medium heat setting, this will make you steamed milk, if you’d like, you can a buy a milk frother to create frothy milk to top off your latte drinks.
Once done, simply pour the steamed milk into the mug espresso drink at a 3:1 ratio, and you’re all done to make your latte at home!
If you’d like, you can flavor your coffee with pretty much anything that you might like. Some people add cinnamon, some vanilla, some raspberry, and the list goes on…
Mocha
A chocolate variation of latte, it’s the perfect drink during the dead of the winters, simply stir a tablespoon of cocoa powder into the milk after heating and add it to your coffee.
If you’d like to give it an extravagant feeling, place a couple of marshmallows at the top of the drink and stand a chocolate stick inside it. Mmm… chocolate.
Irish Coffee
A cocktail of sweetened coffee, Irish whiskey, and whipped cream will make you a delicious Irish coffee that’s perfect for celebrating every day.
To make this drink, simply fill the mug about 3/4 with the coffee, add brown sugar and Irish whiskey. Stir to dissolve completely and add the topping of whipped cream.
Be careful and inevitably don’t mix the cream with coffee. You’re all done!
Sip while it’s hot!
Final Thoughts
Moka pot is a powerful coffee brewer, it’s a great alternative for people who don’t want to shell out hundreds of dollars for fancy espresso machines.
It is efficient and easy to clean, it worths getting one at your home. They are easy-to-find and budget-friendly for everyone.
Despite the learning curve, you’ll still be able to make delicious quality coffee in the comfort of your home. Just follow the steps carefully, especially the ones that insist on safety concerns.
Don’t forget; you’d expect the best results only when you start with freshly ground coffee. If you are missing this element, you’re actually cutting yourself short before even starting the brewing.
Happy brewing!
Great advice for people that are ignorant of this machines power.It becomes your best mate everytime you need a hit.
Agreed. My Keurig machine stopped working so broke out the Moka pot. It was so easy to make a nice strong espresso I had forgotten about. You have to rinse it all clean but it really takes no time. Fantastic drinks every time!
Great piece of equipment for every coffee lover.
Love my Moka pot!!!! Bought it on clearance at Walmart about 15 years ago!! I have since bought several more because I never want to be without it!!!
Never want to be without a Moka pot!! Have had it for 15 years!!
Love my Moka pot I used to have an espresso machine back in NZ at home and now living in Chile Sold it before we moved. Feliz dia de la barista Saludos de Chile